Signing in
SoloBook has no password of its own. You sign in with your Google account, and Google does the checking. This page goes through every screen you can meet, in the order you meet them.
🔑 Step by step
- Open app.solobook.ca. If you are not signed in, you land on the sign-in page. The language switcher (EN, RU, UK) is in the top right corner.
- Press Continue with Google. Your browser moves to Google’s own page. Choose the Google account you want, or sign in to it, and confirm if Google asks. Your Google password is typed there and only there: SoloBook never sees it.
- Google sends you back to SoloBook. If you have been here before, you arrive on your Dashboard. If this is your first time, you pass the two screens below first.
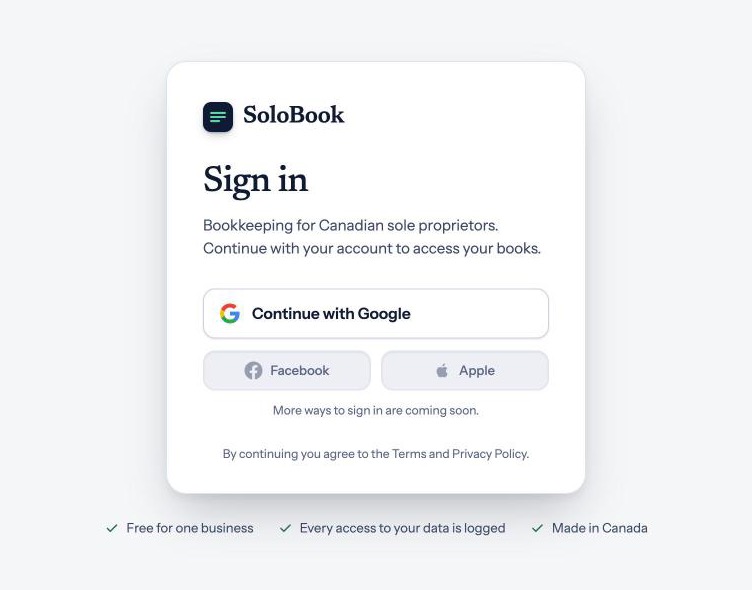
Facebook and Apple appear on the page, greyed out and marked as coming soon. For now, Google is the only way in. Because SoloBook does not ask you to invent a password, there is nothing to forget or reset.
👋 The first time
Before you start
The first screen explains what SoloBook keeps: your books, the statements you upload and, if you connect them, your bank transactions. Read the privacy policy opens the full text: what is collected, who processes it, how long it is kept and how to have it deleted. Tick the box, then press Agree and continue. The button stays grey until you tick the box. Sign out takes you back to the sign-in page without agreeing, and nothing else in SoloBook opens until you do.
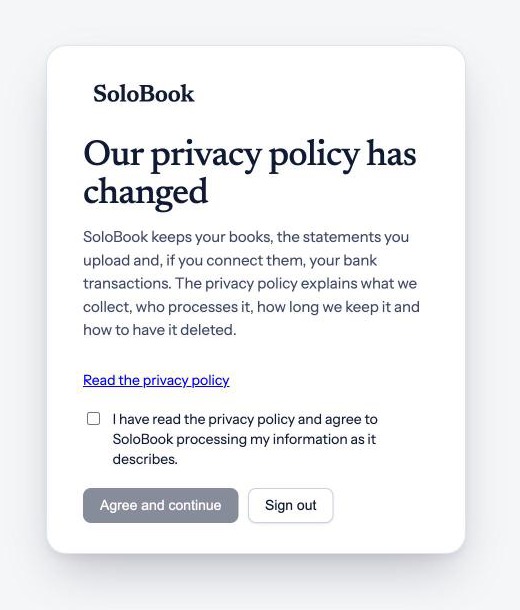
If the policy changes later, you see this screen again, titled Our privacy policy has changed, and you agree before you carry on. The picture shows that version.
Create your business
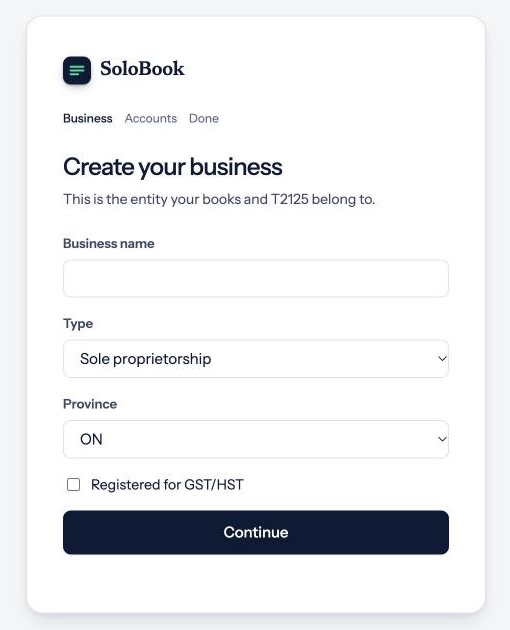
Next comes a short set-up in three steps: Business, Accounts and Done. Enter the name of your business, choose its type and your province, and say whether you are registered for GST/HST. Then add your bank, card or e-wallet accounts, or skip that and add them later. The details are in Start here.
♻️ Next time
SoloBook keeps you signed in on that browser until the session runs out or you press the sign-out button (the arrow icon in the top right corner). After that, you repeat the three steps above, without the first-time screens. On a phone the sign-out button is in the Menu. On a shared computer, always sign out when you finish.
SoloBook knows you by your Google account. The same Google account always opens the same books. A different Google account opens a different, empty set of books. If you sign in and find nothing, check which Google account you chose in step 2 before you worry about your data.
🤝 Signing in from an invitation
When an owner invites you, for example as their accountant, you receive an e-mail with a link. Open it and sign in with the Google account that uses the same e-mail address the invitation was sent to. When sign-in finishes, you come back to the invitation and it is accepted by itself. You see You’re in, and the business appears in your account.
If you are already signed in with a different account, SoloBook shows two addresses: the one the invitation was sent to and the one you are signed in as. Press Sign in with another account and choose the right Google account. An invitation that has expired says so: ask the owner to send a new one. See Accountant and privacy.
🛟 If sign-in does not work
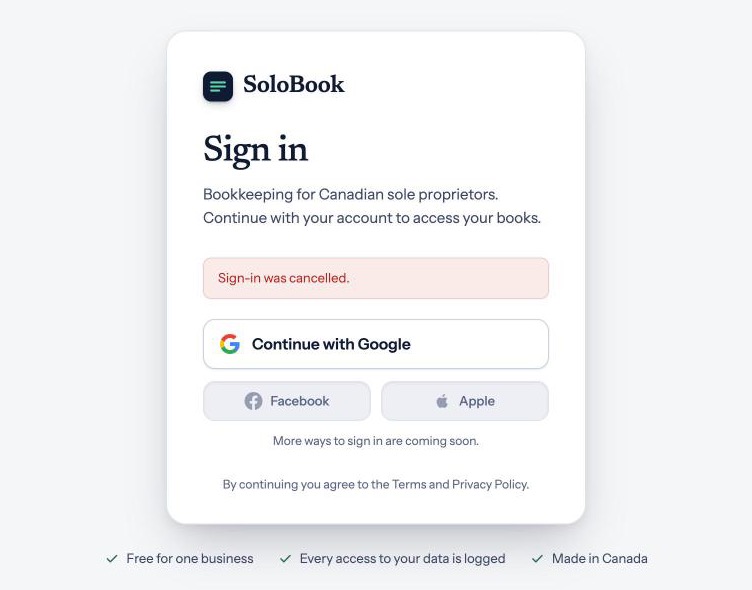
SoloBook shows a message above the Google button, and you can simply try again:
- Sign-in was cancelled. You closed Google’s window or pressed Cancel. Press Continue with Google again.
- Sign-in couldn’t be completed. Please try again. and Couldn’t sign you in. Please try again. Something went wrong on the way. Try once more; if it repeats, write to support.
- This account is closed. A closed account’s data is deleted 30 days after closing. The message tells you how to reopen it before then.
- Your account has been disabled. Contact support if you think this is a mistake.
Write to support@solobook.ca. Never send your Google password or bank details in the message.